How to Make Nanaimo Bars (a Delicious Chocolate No-Bake Canadian Dessert)
This article may contain affiliate links. See our disclosure link for more information.
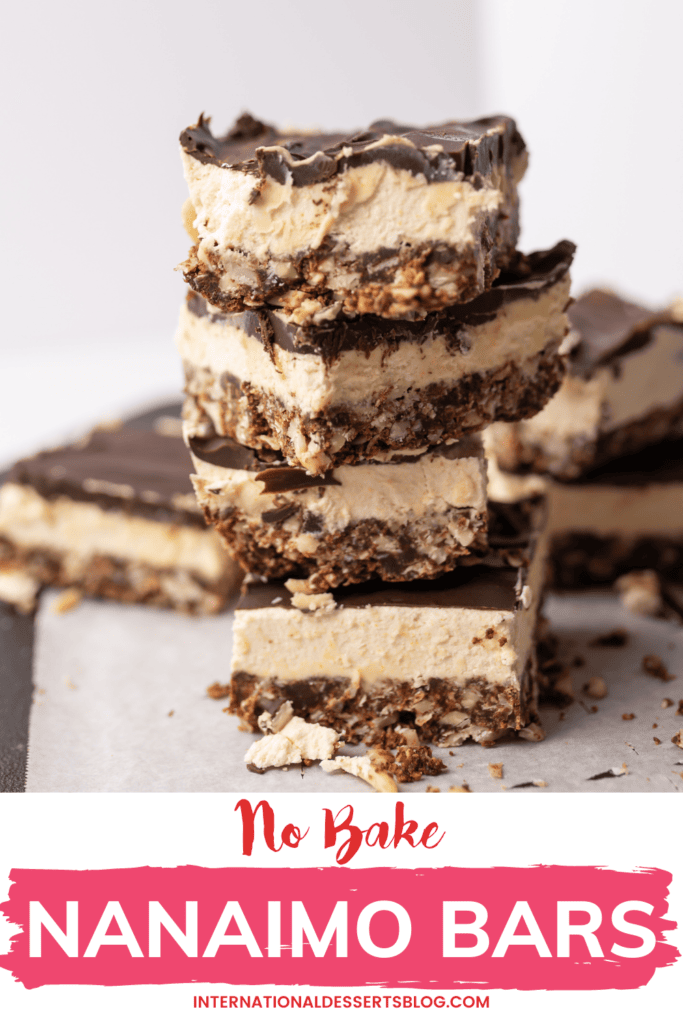
Looking for an easy no-bake treat? Give this favorite Canadian dessert a try! You’ll love the crunchy, creamy, and chocolatey layers – not to mention how easy Nanaimo Bars are to make.
Contents
? About This Recipe
Turns out I’ve been pronouncing the name of this delicious Canadian dessert incorrectly since I was six years old.
*facepalm*
How do you pronounce Nanaimo bars? (Besides the obvious de-li-cious.)
Last summer, my Canadian friend, Sabrina, set me straight while visiting her in Vancouver, BC. Turns out they’re pronounced Na-NEYE-mo….not NAA-ni-mo – bars.
Glad to finally know that!
Nanaimo Bars are named after where they originated, namely the city of Nanaimo on Vancouver Island in British Columbia.
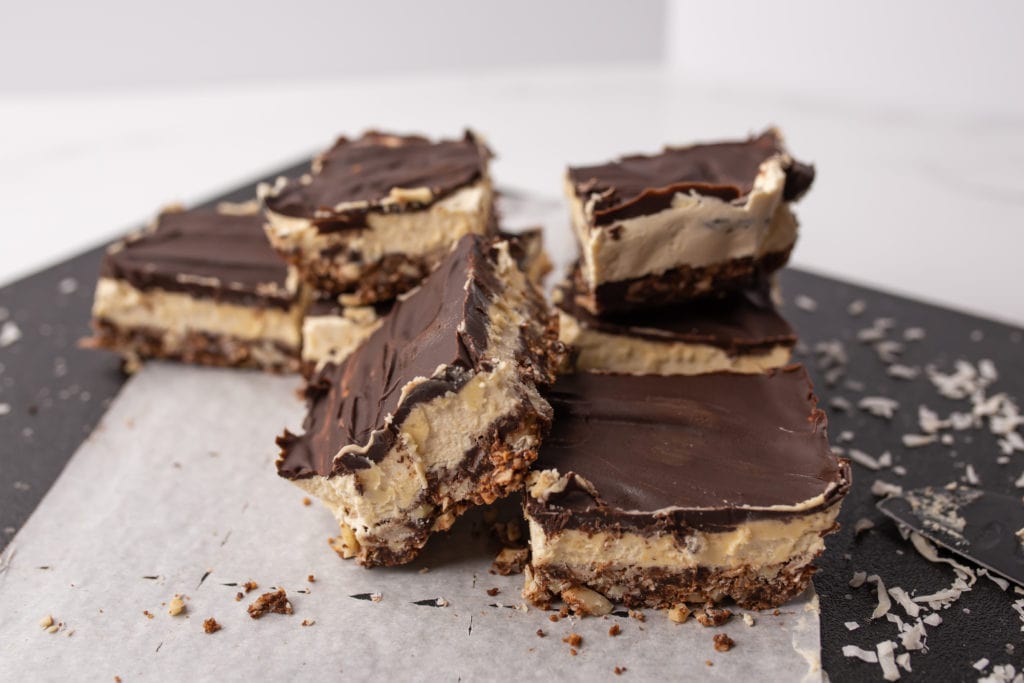
Having grown up eating peanut butter Nanaimo bars, I decided to try the custard variety when I got back to North Carolina.
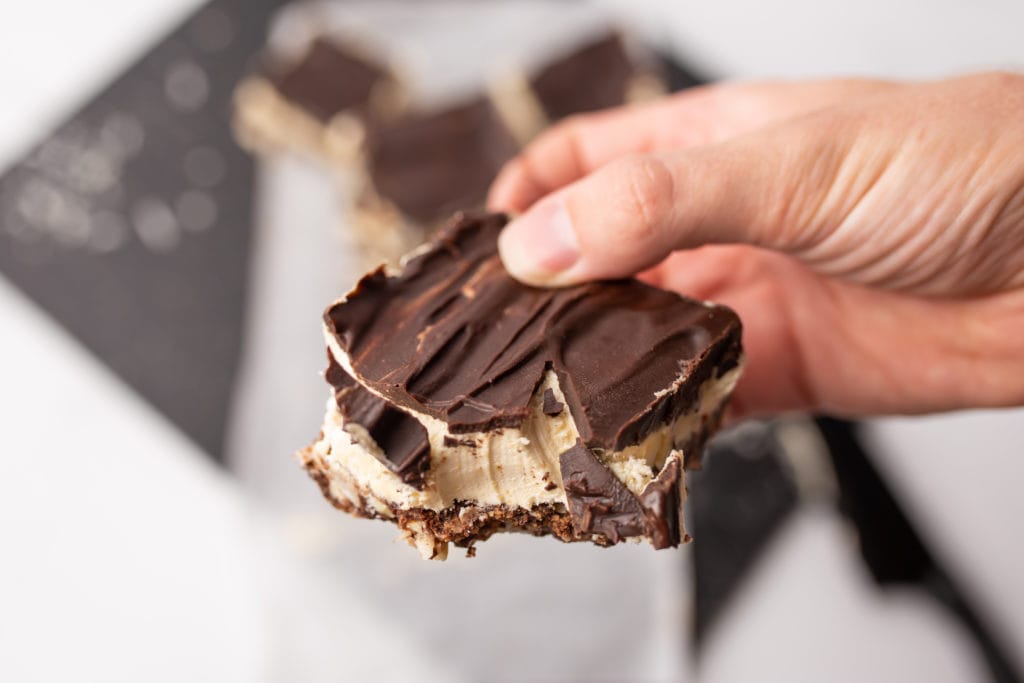
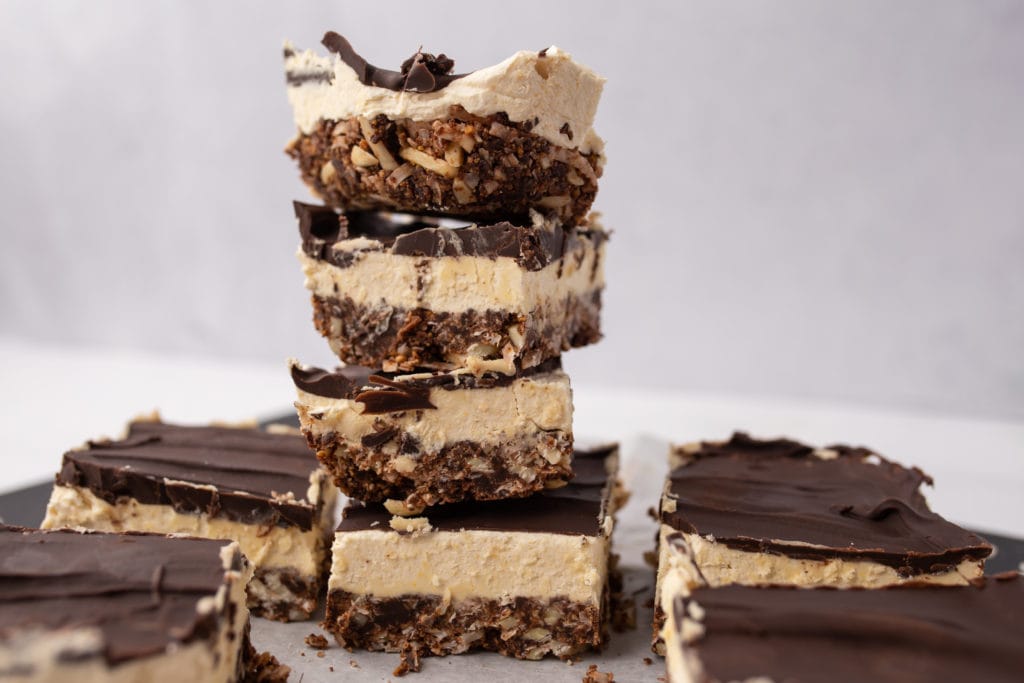
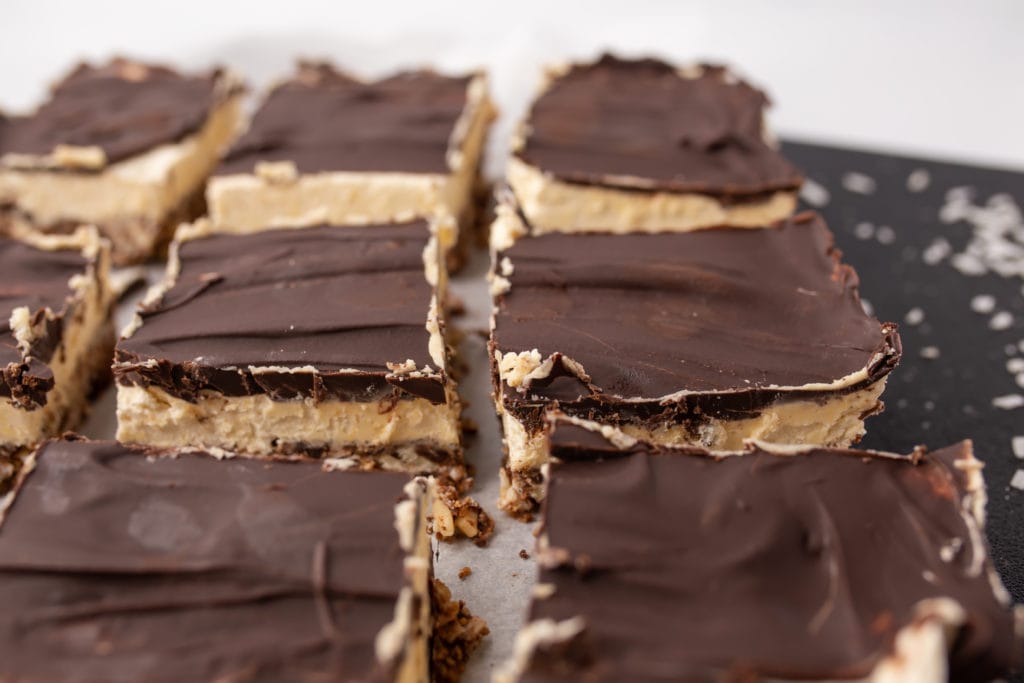
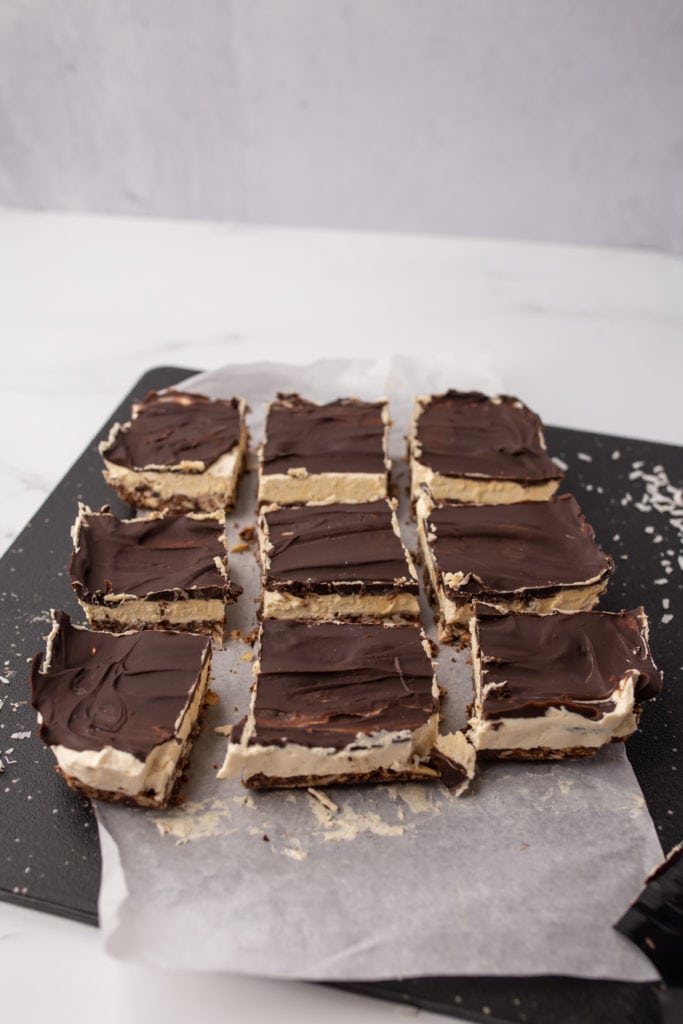
Wow, these Nanaimo bars are tasty! I love the rich, dense, creamy, buttery custard.
The nutty chocolate crust balances out the sweet filling, and the chocolate topping just makes it rich and delicious.
Give these no bake Nanaimo bars a try! You only need a few simple ingredients, they’re easy to make, and are a definite crowd pleaser.
? Recipe Variations, Notes & Tips
- Double Boiler. You can use a double-boiler to melt the butter and chocolate, but I don’t have one, so I used a sauce pan over low heat and it worked just fine.
- Butter. Make sure the butter that you use for the filling is room temperature. Otherwise you may end up biting into chunks of butter in your bars!
- Unsweetened Coconut. Since these bars are already very sweet, I highly recommend unsweetened coconut. I prefer using the finely shredded coconut in this recipe.
- Dark Chocolate. I like to use dark chocolate in the top layer to balance the sweet middle layer but feel free to use milk chocolate if you prefer it.
- Bar Size. The recipe suggests cutting the bars into 9 slices. Those slices will be big! These bars are quite rich, so you might want to make them smaller. I often cut each of those 9 slices into 2 bars or 4 bite-sized pieces and find one of those more than enough.
- Tip: If you’re ever in Nanaimo, Canada, use this guide to follow the Nanaimo bar trail!
? Best Canadian Nanaimo Bar Recipe
This recipe has 3 layers. Each layer is quick and easy to make.
To make the bottom layer, melt butter in a large saucepan, then add cocoa powder and sugar. Stir until sugar is dissolved.
Add one beaten egg. Stir well to cook egg while the mixture is hot.
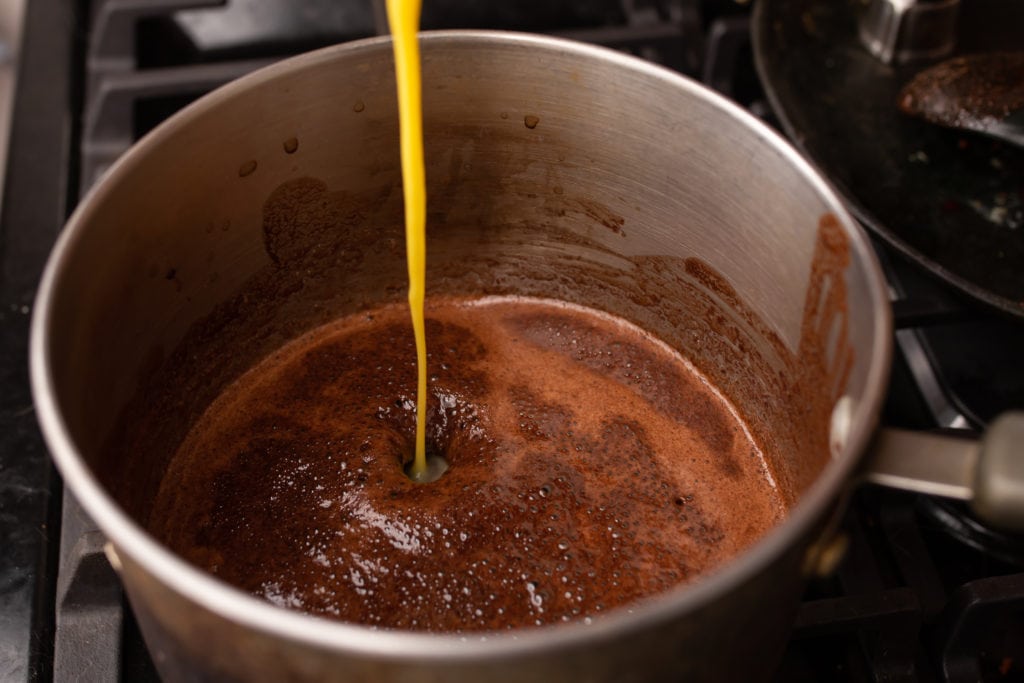
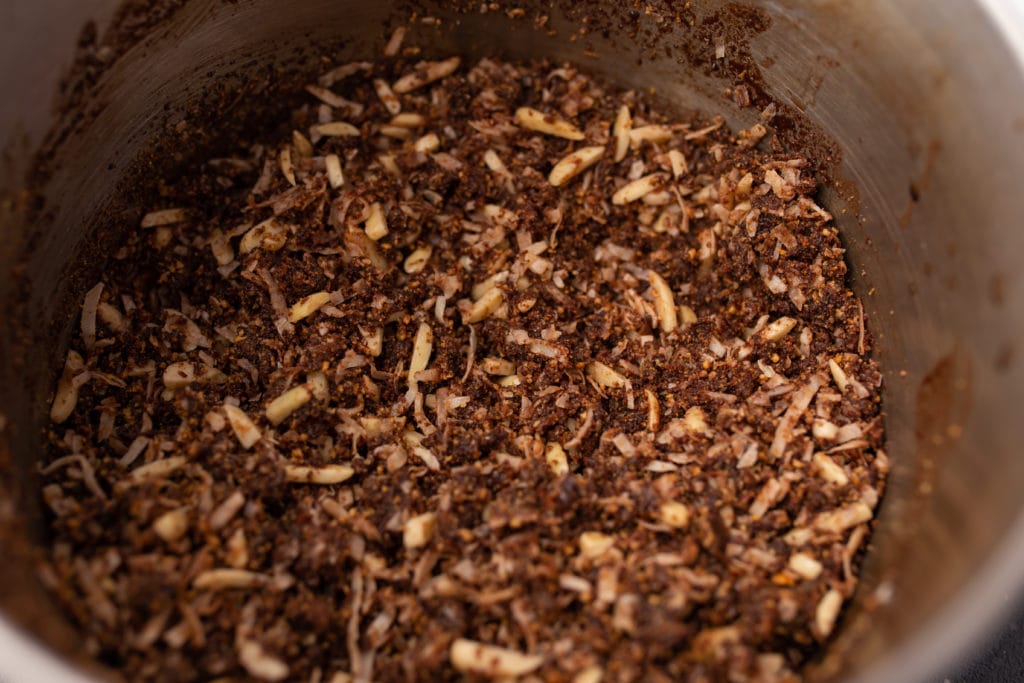
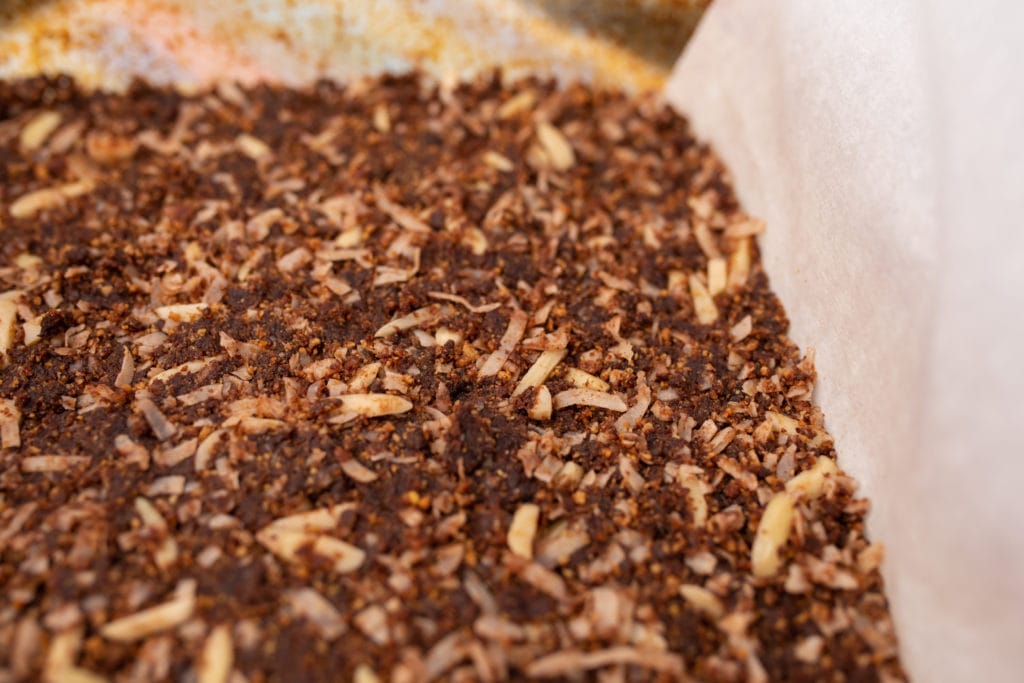
Take the saucepan off heat and stir in shredded coconut, chopped almonds, and graham cracker crumbs. Stir until everything is well combined.
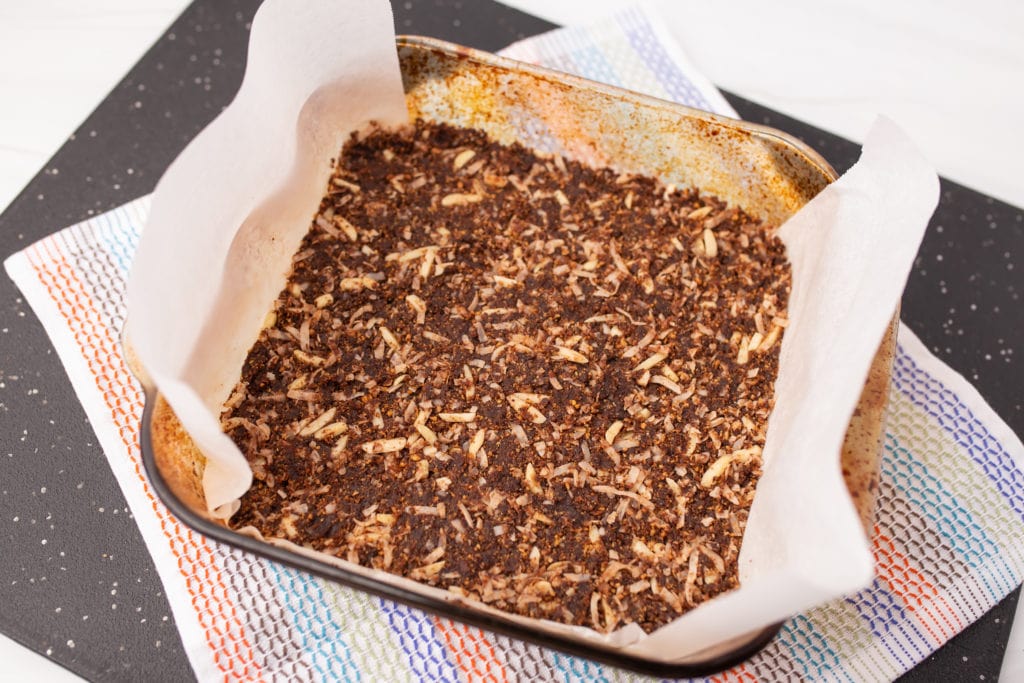
Press the coconut mixture into an ungreased 8×8 pan. I like to line my pan with parchment paper to make it easy to lift out of the pan.
Chill the bottom layer in the fridge while you make the filling. Doing so will make it easier to spread the filling on the bottom layer.
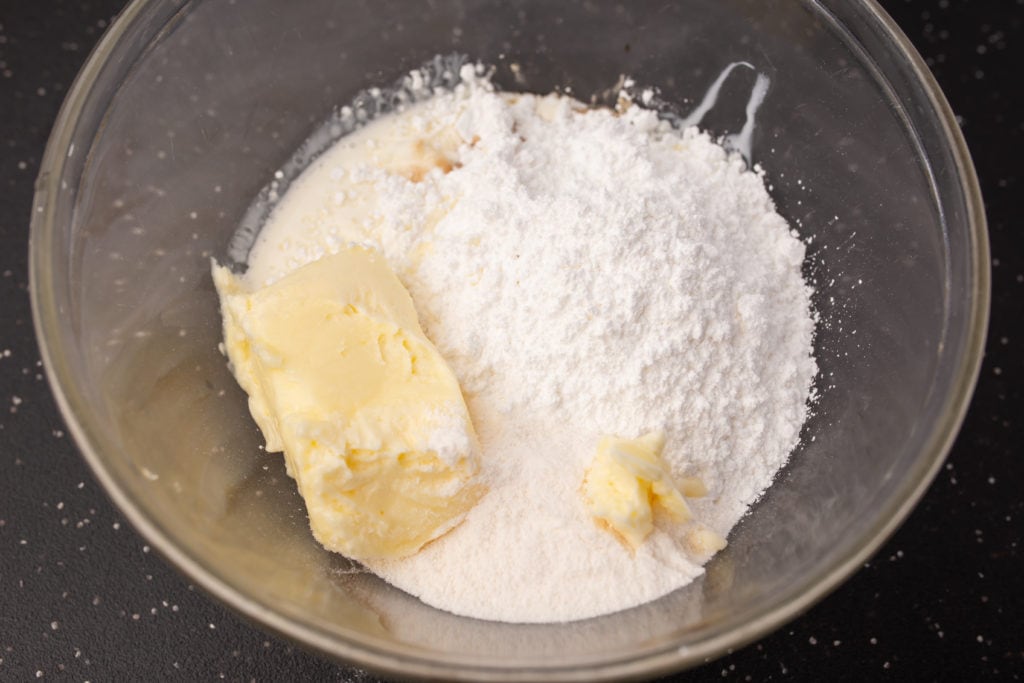
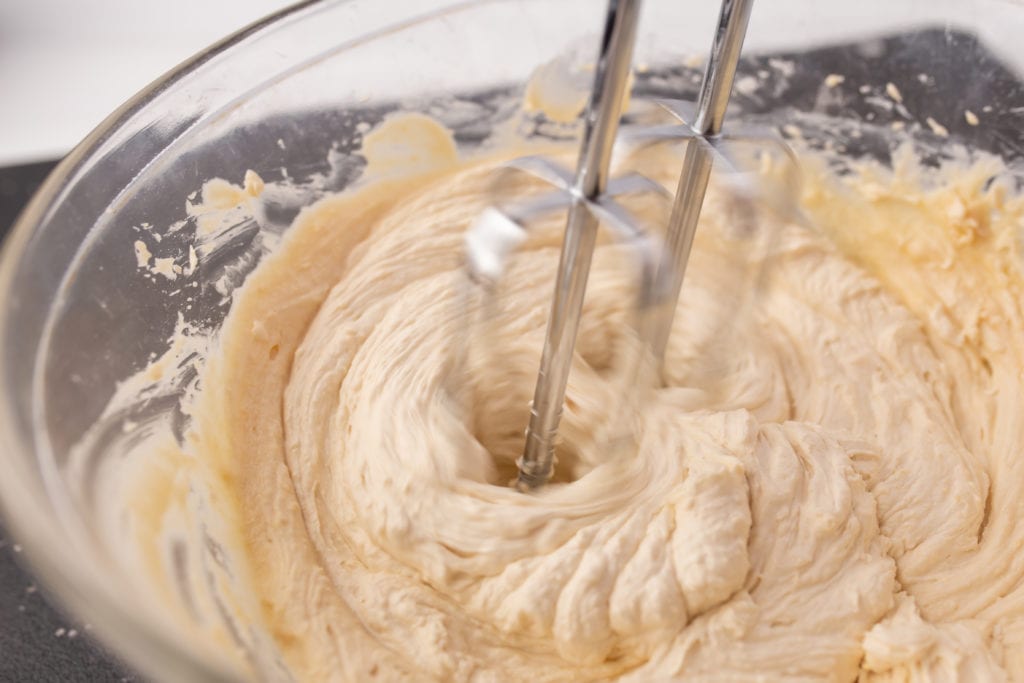
To make the filling, add softened butter, powdered sugar, heavy cream, and vanilla pudding mix (or custard powder) to a mixing bowl. Beat until light and fluffy. I love using my Breville hand mixer for this. I’m seriously in love with that mixer!
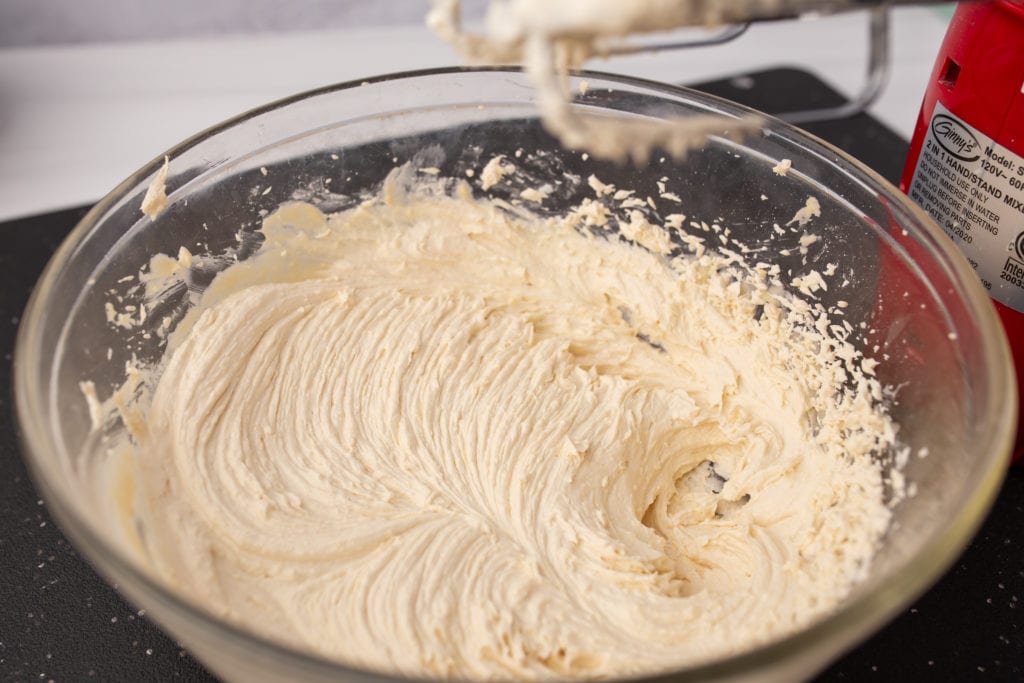
Spread the custard mixture over the bottom layer. Then chill in the fridge while you prepare the top layer.
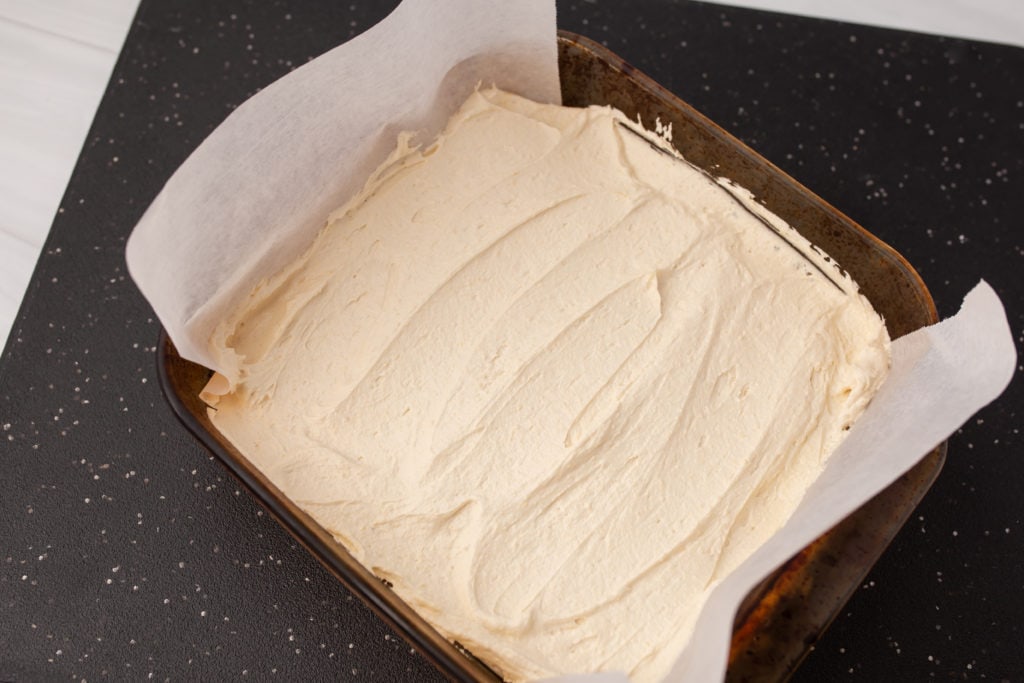
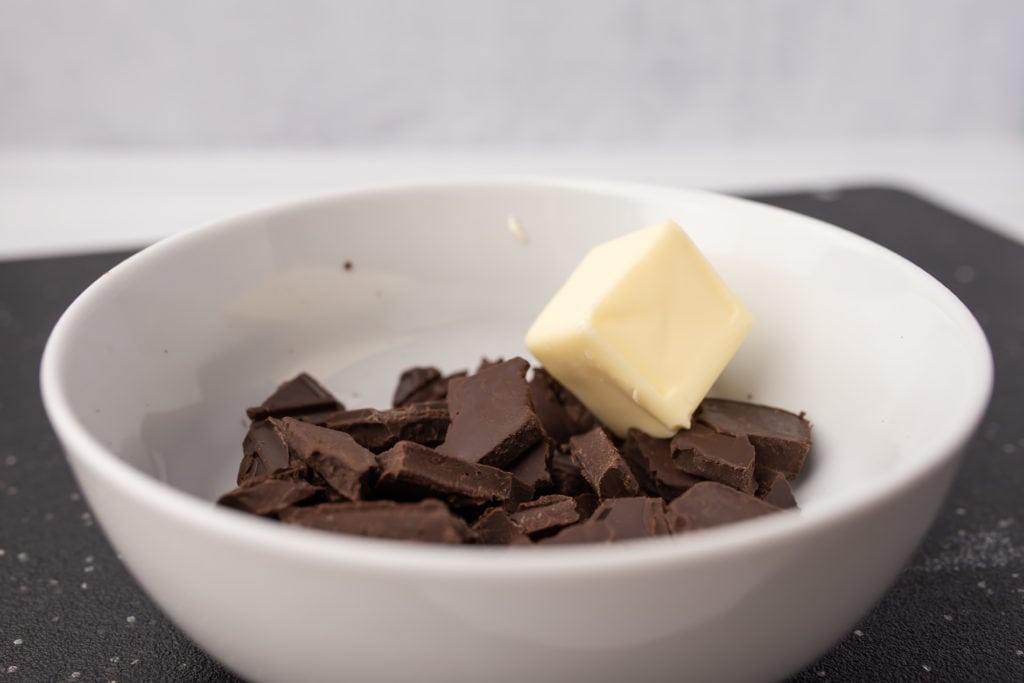
The last step is to make the top layer. First, melt chocolate and butter in the microwave or on the stove using a double boiler or a heatproof bowl and a saucepan.
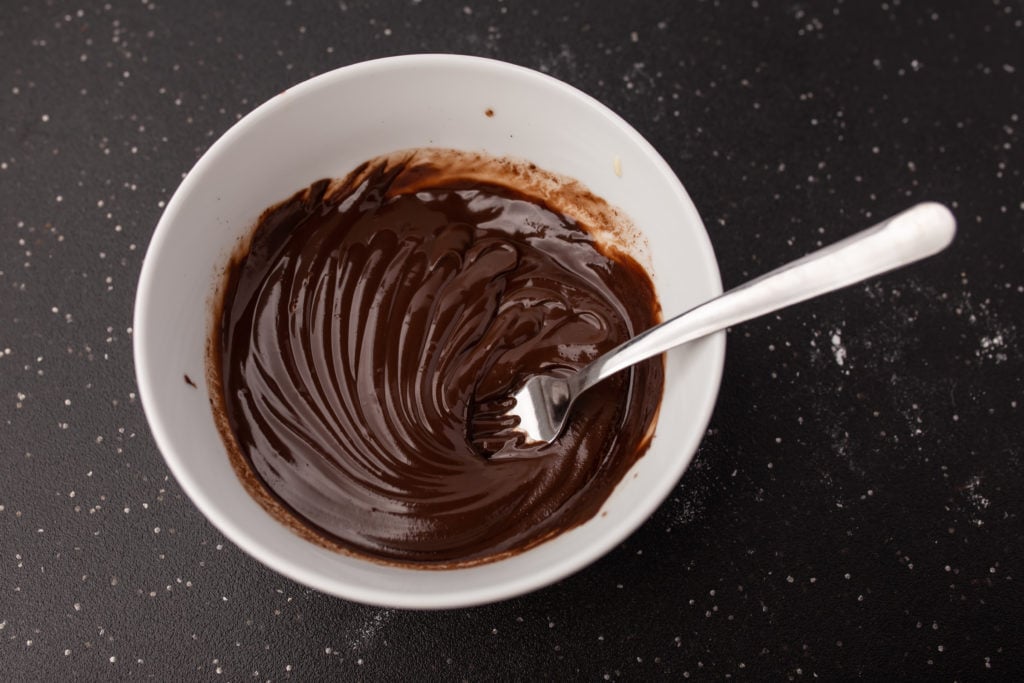
Let chocolate mixture cool slightly, then spread over the chilled custard filling. The chocolate is easiest to spread when the cream layer is well chilled.
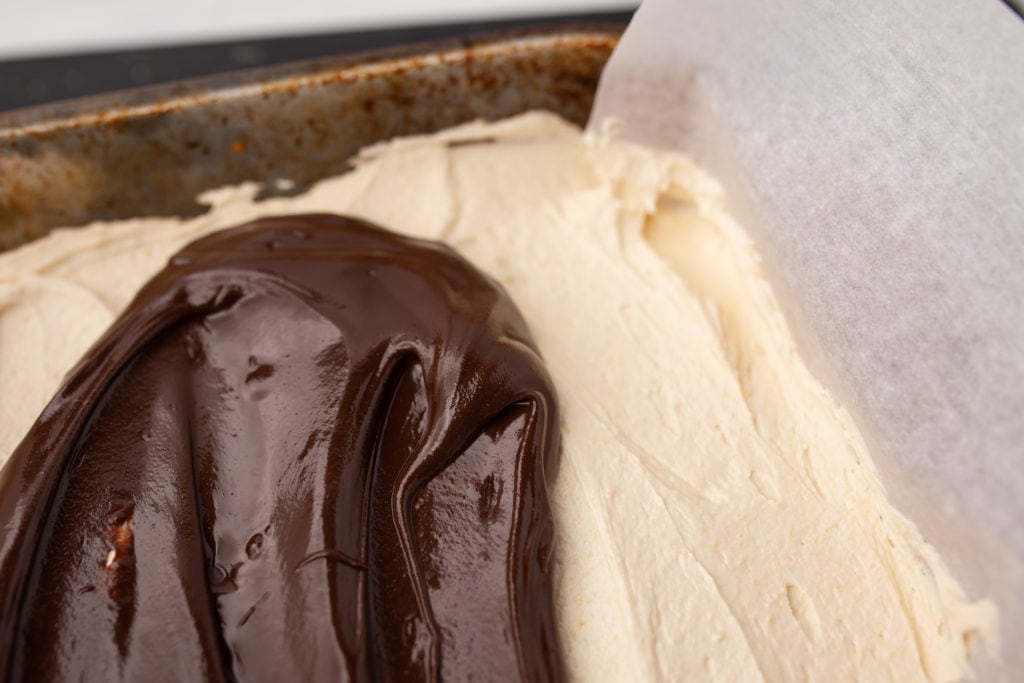
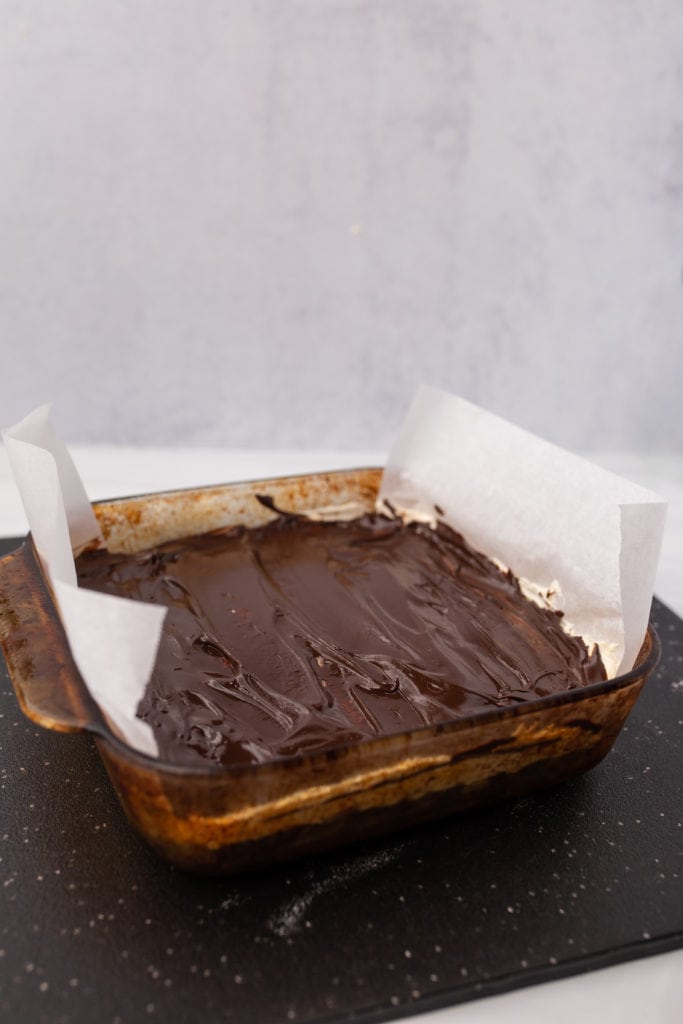
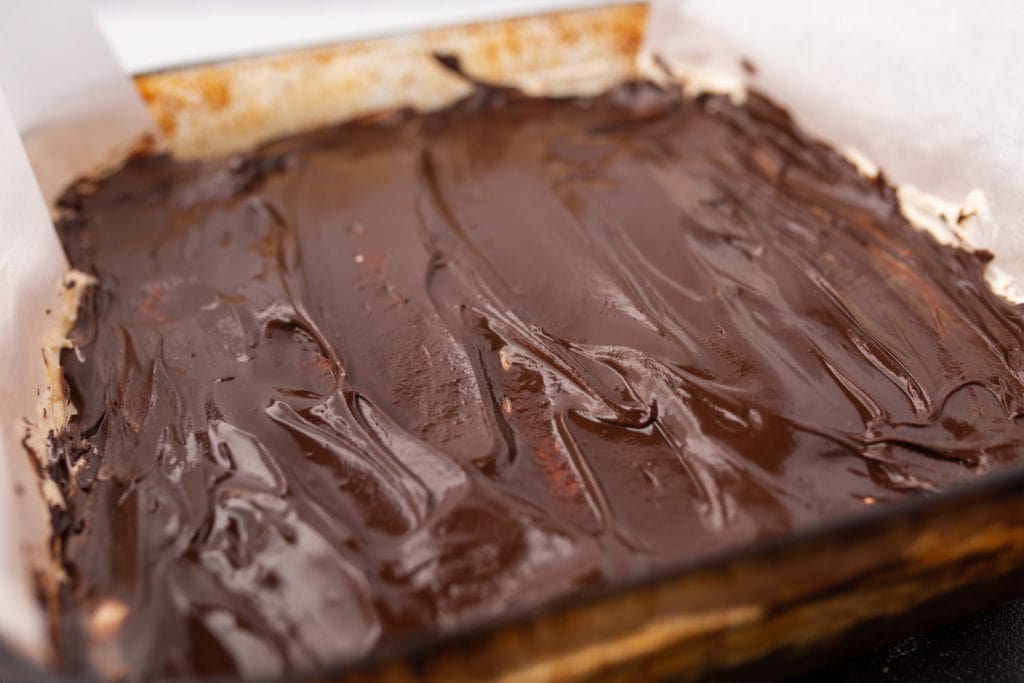
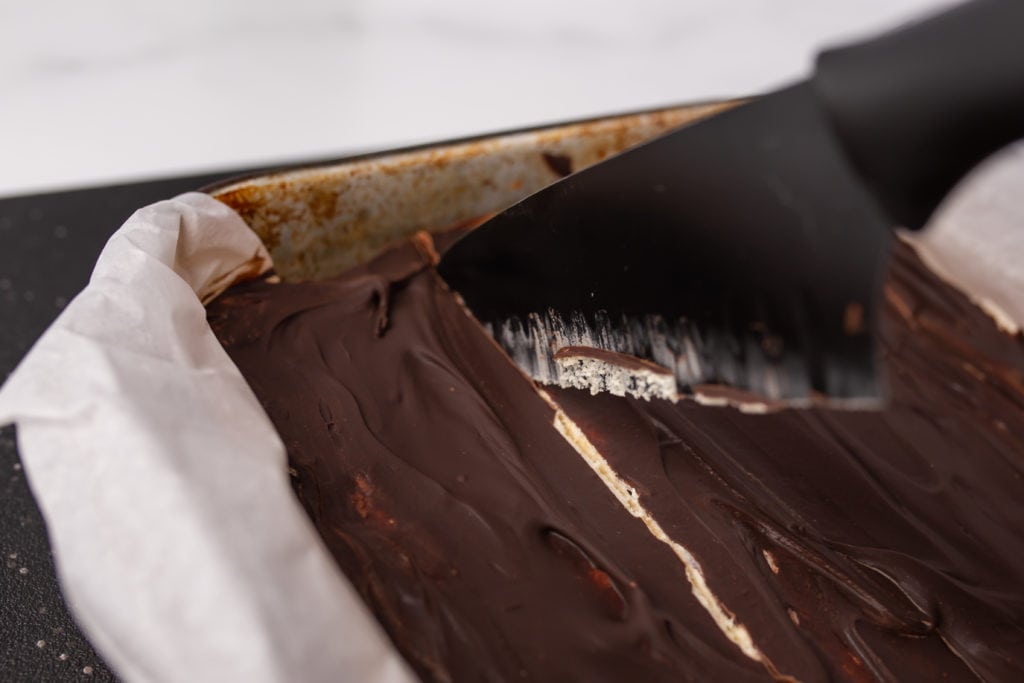
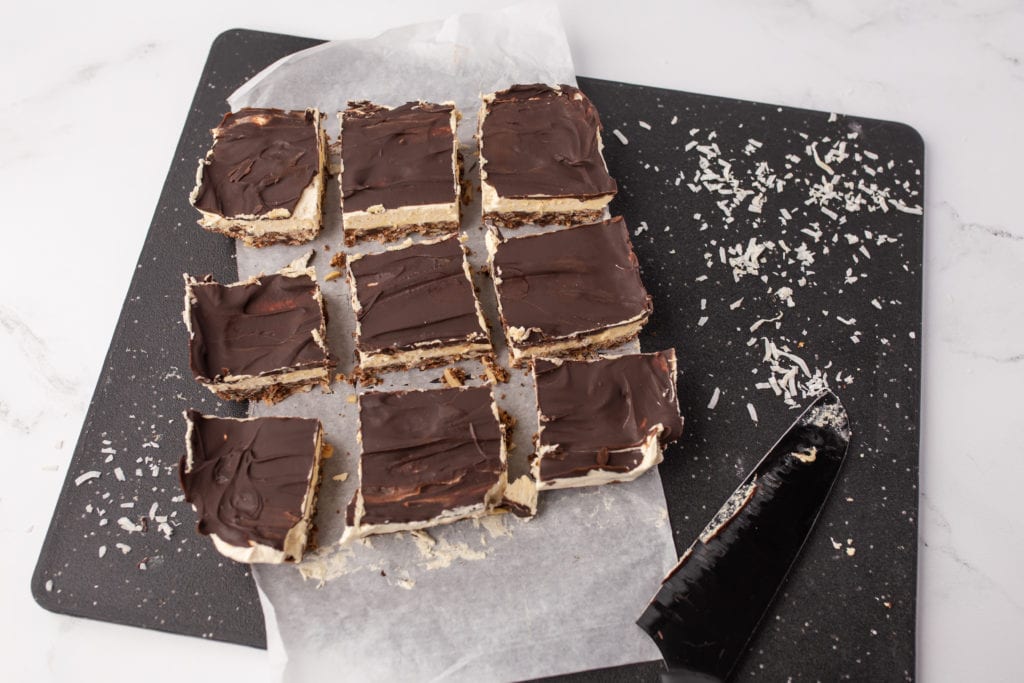
Once you have all three layers, cover and chill in the fridge until solid. Then cut into 9 slices and enjoy!
? New to International Baking & Dessert Making?
Click here to download my FREE 9-Page Starter Kit so you can begin making delicious treats from Europe and beyond with confidence and ease! Or start with my 25 European Favorites cookbook. It’s filled with easy and delicious recipes that are perfect for beginners.
? Looking for More Chocolate Recipes?
- French Hot Chocolate
- Estonian Chocolate Strawberry Cookie Cake
- Dutch Hagelslag
- Salted Dark Chocolate Quark Mouse
- Easy German Rum Balls
- Homemade Nutella (Chocolate Hazelnut Spread)
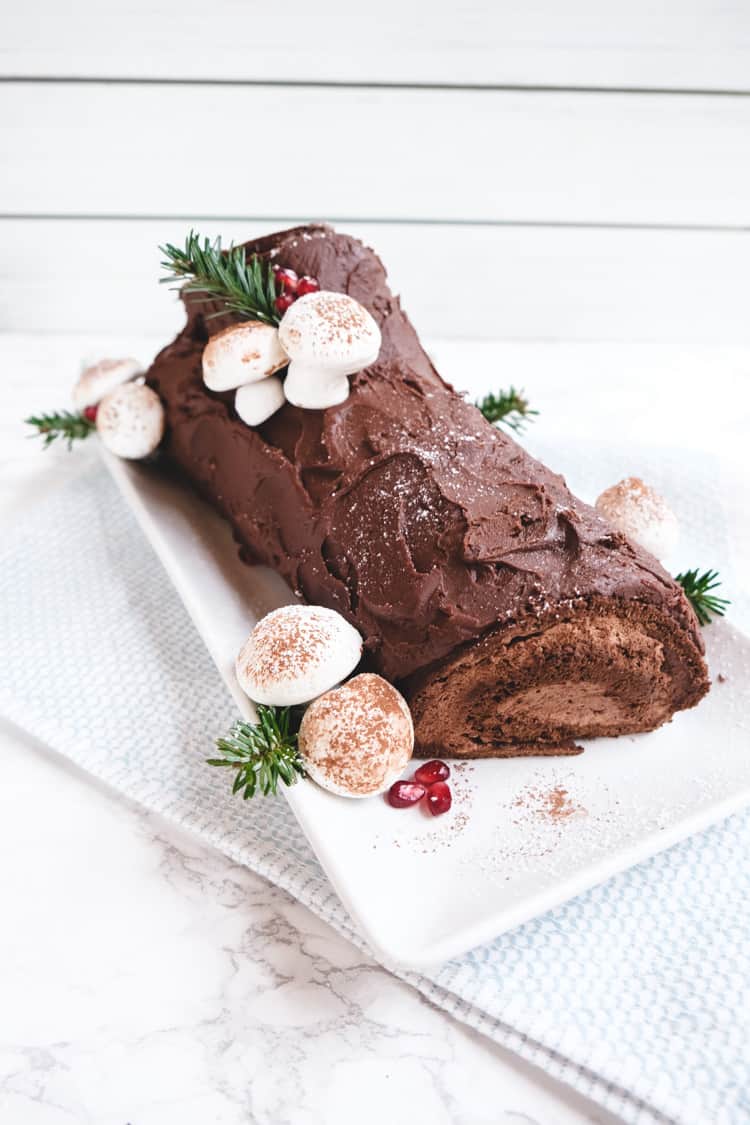
- French Buche de Noel Cake
- Easy Chocolate Cake Mix Mug Cake
Ultimate Canadian Nanaimo Bars
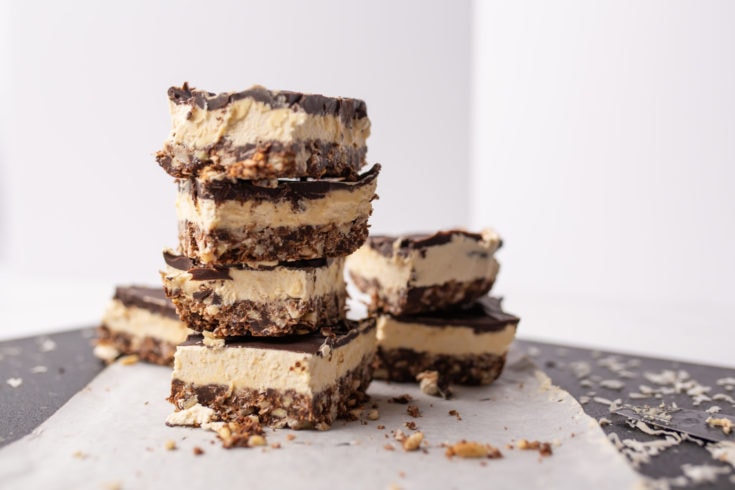
These nutty, chocolate-y, buttery bars are rich, delicious, and super easy to make. No baking required!
Ingredients
Bottom Layer
- 1/2 cup [113g] butter
- 1/4 cup [50g] sugar
- 5 tablespoons cocoa powder
- 1 egg
- 1 cup [250g] shredded unsweetened coconut
- 1 cup [100g] graham cracker crumbs
- 1/2 cup [125g] chopped almonds
Filling
- 1/2 cup [113g] butter (softened)
- 2 cups [240g] powdered sugar
- 2 tablespoons + 2 teaspoons heavy cream
- 2 tablespoons vanilla pudding or custard powder
- 2 teaspoons vanilla extract
Top Layer
- 1/2 cup [4 oz/113g] dark chocolate (chopped)
- 2 tablespoons butter
Instructions
Bottom layer
- Melt butter in a large saucepan, then add cocoa powder and sugar. Stir until sugar is dissolved.
- Add one beaten egg. Stir well to cook egg.
- Take off heat and stir in shredded coconut, chopped almonds, and graham cracker crumbs. Stir well until combined.
- Press mixture into an 8x8 pan lined with parchment (that will make it easy to lift the bars out of the pan.) Chill the bottom layer in the fridge while you make the filling. Doing so will make it easier to spread the filling on the bottom layer.
Filling
- Add softened butter, powdered sugar, heavy cream, and vanilla pudding mix (or custard powder) to a medium bowl. Beat until light and fluffy.
- Spread custard mixture over the bottom layer. Chill in the fridge while you prepare the top layer.
Top layer
- Melt chocolate and butter on the stove or in the microwave. Let chocolate mixture cool slightly, then spread over the chilled custard filling. The chocolate is easiest to spread when the cream layer is well chilled.
- Once you have all three layers, cover and chill in the fridge until solid.
- Cut into 9 slices and enjoy!
Notes
Based on this recipe.
Make More Easy No-Bake Recipes
- Canadian Nanaimo Bars
- Estonian Strawberry Cake
- Easy Rice Krispie Cakes with Golden Syrup
- Healthy Mexican Strawberry Ice Pops
- Easy Homemade Vanilla Sugar


You instructions in step 3 says something about shredded coconut. I don’t see it in the list of ingredients. Is that an oversight either in the ingredient list or instructions?
Yep, there’s 1 cup shredded coconut (I just fixed the ingredients list)!
haha I read your challenge to pronounce the name and figured Nanaimo must be pronounced in such a way that sounds like a toddler learning to speak saying Nana, I (want) mo(re)!
haha! 🙂
Hi Cate,
I love this blog because of the Canadian content and I have a question to ask. I export Canadian Food & Beverage at my website and I would like to add a page for Canadian recipes. Would it be okay if I added some of the recipes from here to my page.
Cheers,
Ian White
CanadianFoodToUsa.com
Hi Ian, you’re welcome to link to anything on the IDB but please do not use any IDB content on your site. Thanks!
Hi, Cate!
I so enjoy your blog. On these Nanaimo (I got it, with help from Italian pronunciation) Bars:
If the bars sit out on the counter for hours, will they get too soft to eat? (So, don’t plan on shipping these?).
2) Adding the egg to the heated chocolate mixture – won’t the egg curdle? I usually add a bit of the warm to the egg before adding the egg to the warm.
I am thinking these bars should be kept refrigerated and eaten within ___ days?
Hi Alida! 🙂 They’re not the best to ship. It’s ok to leave them out for a few hours, like if you take them to a party. They’ll soften up nicely but shouldn’t get too soft (as long as it’s not super hot where you are). I wouldn’t leave them out all day, just to be on the safe side. I’ve never had a problem with the egg curdling but I let the chocolate cool a bit. You could definitely add a little chocolate to the egg first, just to be on the safe side. I’d eat them within a 2-3 days. It’s a pretty forgiving recipe but it’s when freshest. Enjoy!