10 Best International Desserts & Baking Tips for Beginners & Intermediate Bakers
This article may contain affiliate links. See our disclosure link for more information.
Looking for more consistent international dessert making and baking success?
These 10 simple baking tips will help you level up your international dessert making and baking skills!
If you didn’t grow up with family or friends who liked to bake and who could guide you in developing solid baking skills and habits, you’re not alone!
Maybe, like me, you dove head first into baking as an adult and have simply figured things out recipe by recipe.
Maybe you’ve been baking for a while and wonder how you can improve your skills.
Or maybe you’re just beginning and want to start off on the right foot with good baking skills and habits.
The good news is that with a few tips and tricks anyone can become an amazing international desserts maker and baker!
When I first started baking – back when I was in grad school studying for my PhD exams – I could barely make a cake using a box mix and canned frosting. Before then, I was way more interested in traveling than being in my kitchen!
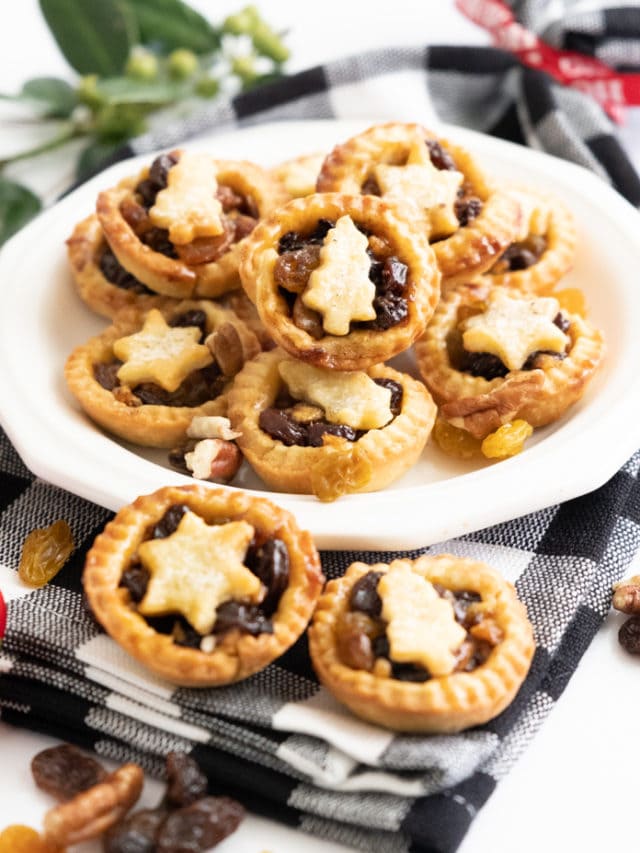
Now? I make all kinds of delicious treats from quick and easy French Apple Tarts, German Apple Strudel, Mini Mince Pies, Australian Pavlova, and much more!
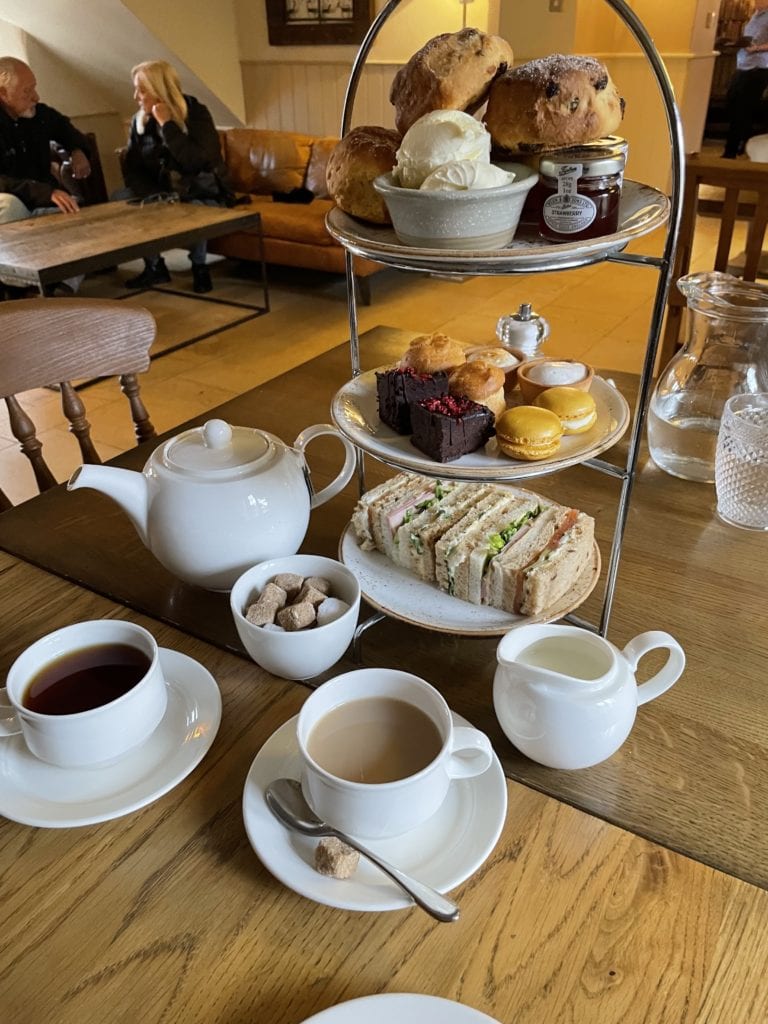
So whether you’re baking European Christmas cookies with the kids for the first time or want to make that German cheesecake or British scones and clotted cream you enjoyed on vacation, these simple yet powerful baking tips will help you find more baking success.
Contents
- 1 10 Best International Desserts & Baking Tips for Beginners & Intermediate Bakers
- 2 1. Read The Recipe
- 3 2. Gather Your Ingredients & Supplies BEFORE You Start
- 4 3. Start (Most Of) Your Ingredients Out At Room Temperature
- 5 4. Take The Time To Actually Measure (And Use A Scale)
- 6 5. Preheat Your Oven
- 7 6. Prepare Your Baking Pans
- 8 7. Use Silicone Mats or Parchment Paper On Cookie Sheets
- 9 8. Cream Your Butter and Sugar
- 10 9. Don’t Open The Oven
- 11 10. Use Thermometers
10 Best International Desserts & Baking Tips for Beginners & Intermediate Bakers
1. Read The Recipe
This is the most important tip of all! And one many beginning and intermediate bakers often skip.
I’ll admit it, I used to do that. I’d get so excited about making a new treat and would simply read the recipe as I made it.
While that method worked ok for some recipes, it led to some epic baking fails and wasted ingredients with others.
Now I read the entire recipe 2-3 times before I make it – even my own recipes! Usually I do this while sitting comfortably on my couch rather than when I’m standing at the kitchen counter rushing to get the recipe started.
So take a few minutes to read through the entire recipe at least once – especially when making a new international recipe.
Not only will this practice ensure you don’t get half way through a recipe and realize you’re missing a key ingredient, you’ll feel less frazzeled as you make the recipe.
Which enables you to enjoy the process and bake with love rather than stress!
2. Gather Your Ingredients & Supplies BEFORE You Start
One big mistake beginning bakers make is to start a new recipe and then realize they don’t have all of the ingredients or a key baking tool.
While you can easily substitute a lot of things in your baking ranging from eggs to oil, it’s a whole lot easier and less stressful to have everything gathered and know that you have what you need before you begin.
Especially when it comes to international recipes that might call for a special ingredient or baking tool. This is another habit that will enable you to bake with less stress, fewer baking fails, and much more enjoyment.
3. Start (Most Of) Your Ingredients Out At Room Temperature
Unless the recipe says otherwise, you should always start out with your ingredients at room temperature.
This makes it easier for things like butter and eggs to work their way into the batter for smooth baking. If you start with cold ingredients you will find that it is nearly impossible to get butter well mixed into your batter or to cream butter and sugar.
Reading the recipe and gathering your ingredients before you start baking will ensure you know which ingredients need to be at room temperature.
4. Take The Time To Actually Measure (And Use A Scale)
You may know people who’ve been cooking and baking for years who just eyeball their measurements.
This can work if you know a recipe super well and have made it loads of time.
If not, it’s an easy way to mess up a recipe! Especially when it comes to baking. So, if you want more consistently successful results, take time to carefully and accurately measure each ingredient.
Another tip – use a scale so you can measure ingredients by weight rather than volume, especially if baking something with flour. It’s crazy how much variation you can get when using measuring cups for something like flour!
Baking by weight is so much more accurate than baking by volume. You can buy an inexpensive kitchen scale on Amazon (that’s where I got mine)!
5. Preheat Your Oven
If you don’t preheat your oven you could bake your sweet treat at an uneven heat, which can greatly affect the overall final result.
Not preheating your oven also makes baking times take longer and can lead to burning the the tops, bottoms or edges while having soggy or underbaked centers.
Preheating your oven allows you to have an even bake every time. Make it a habit to turn on your oven before gathering your ingredients so it’s preheated when you’re ready to bake.
Be sure to read the recipe before you start baking – some recipes, like for some types of bread, recommend letting the oven preheat for a hour.
6. Prepare Your Baking Pans
A common mistake beginning bakers make is forgetting to prepare your pans for baking (hello, nearly everyone on Nailed It! ha!).
The end result? Stuck on goodies that fall apart when you remove them from the pan – if you can remove them from the pan.
Another good reason to read the recipe before starting to bake is that it gives you an opportunity to decide how to best prepare your pan.
Common methods include using baking spray, parchment paper, a silicone baking mat, butter and flour or shortening and flour. I use parchment and silicone baking mats most often.
7. Use Silicone Mats or Parchment Paper On Cookie Sheets
I used to bake cookies right on my cookie sheet…and then often had to scrub the cookie sheet clean.
Now I use a silicone mat or parchment for better baking and easy clean up.
And now my baking pans last longer! You can use a silicon mat for years, so it’s a small investment that will pay off quickly. I have both the Silpat brand and the less expensive MMm brand and they both work great.
I use parchment for things that are messy or if I’m using a baking pan I don’t have a silicone mat for (like a cake pan – you can get parchment rounds for cakes).
Two more cookie baking tips:
1. Use baking pans that won’t warp. For years I used cheap Target cookie sheets that I had to frequently replace. Then I bought 2 USA pans (this a half sheet pan and this quarter sheet pan). I love them and they’re work horses in my kitchen! I now use my 2 USA pans for everything – cookies, roll-up cakes, some kinds of bread, etc. I don’t even own a cookie sheet anymore.
2. Use a cookie scoop. You’ll more quickly and easily place cookie dough onto your baking pan without getting your hands dirty, and your cookies will bake more evenly if they’re the same size. You can even get a set with 3 different sized scoops (and you can use the scoops for ice cream, melon, and cupcakes, too).
8. Cream Your Butter and Sugar
Creaming room temperature butter and sugar gives you a better overall texture to your final recipe.
This step also makes it easier overall to get your sugar blended in evenly without worrying about over-mixing other ingredients like baking powder, where you could activate it too soon leaving you with a flat final result.
You can use a stand or hand-mixer to cream butter and sugar. I used to use my KitchenAid stand mixer every time I baked but after getting this Breville hand-mixer, I’ve actually been using it more to do things like cream butter and sugar because it’s powerful and so easy to use!
9. Don’t Open The Oven
It can be tempting to open the oven door and take a peek while you wait for your sweet treat to bake but doing so can lead to many issues when the heat escapes your oven – like an uneven texture or sinking.
Instead, if you have an oven light, turn that on and look through the window to see how your bake is progressing. If not, avoid open the door to check on your baked goods until you are about 20% from the end of your cooking time. That way you can catch it before it over-bakes or burns but you are not slowing the baking process down from start to finish.
10. Use Thermometers
Many people are shocked to discover that their ovens are not running at the temperature they set it to. This is particularly important for older ovens. I highly recommend getting an oven thermometer so you can ensure that your oven is at the temperature you need to bake your recipe – and not hotter or colder than you assume.
In addition to an oven thermometer, I highly recommend getting a good candy thermometer! I use this one for baking, candy-making, and cooking. It’s lasted longer than other thermometers and is accurate and easy to use.

